How to Use Google Tag Manager to Track a “Button Click” Event in Google Analytics

At AIMS-AI, we think that information is only useful if it motivates action. Tracking particular website interactions, such as button clicks, is therefore crucial to converting user involvement into quantifiable outcomes. Event monitoring has grown even more potent since the switch to Google Analytics 4 (GA4), providing more in-depth understanding of your clients’ travels. When used in conjunction with Google Tag Manager (GTM), this procedure is surprisingly simple and efficient.
We’ll show you how to use GTM to track a button click event in GA4 in this tutorial. These methods will help you step up your analytics game, whether you want to enhance your website or wow your stakeholders with useful data.
10 Steps to Use GA & GTM to Track Website CTAs as Events:
Step 1: Set Up Google Tag Manager:
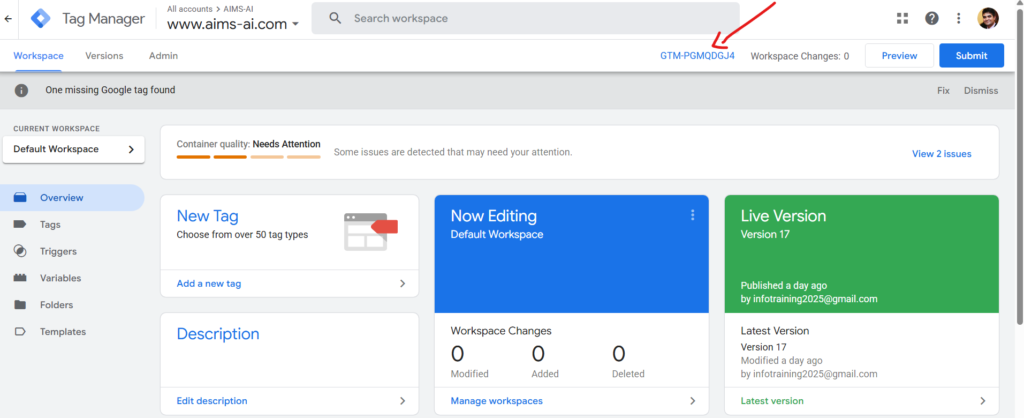
To begin, sign in to Google Tag Manager and, if you haven’t already, register. After logging in, make a copy of the GTM container code that is in your workspace and embed it on each page of your website by following the installation instructions. The groundwork for event tracking is laid in this step.
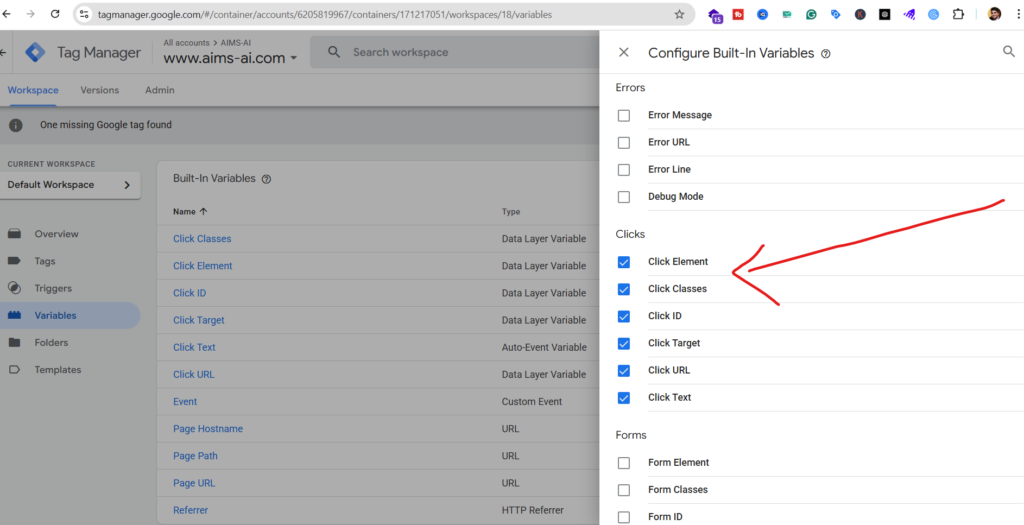
Step 2: Enable Click Variables:
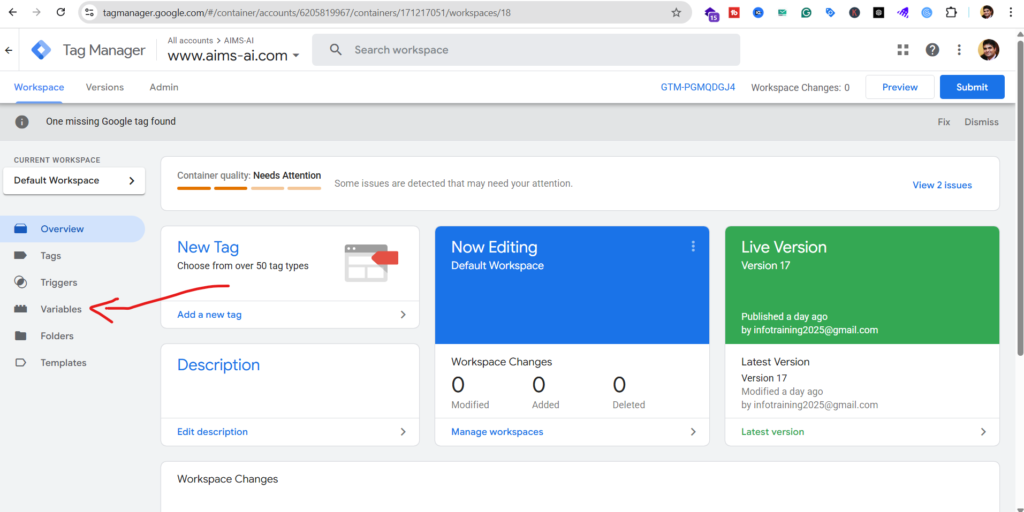
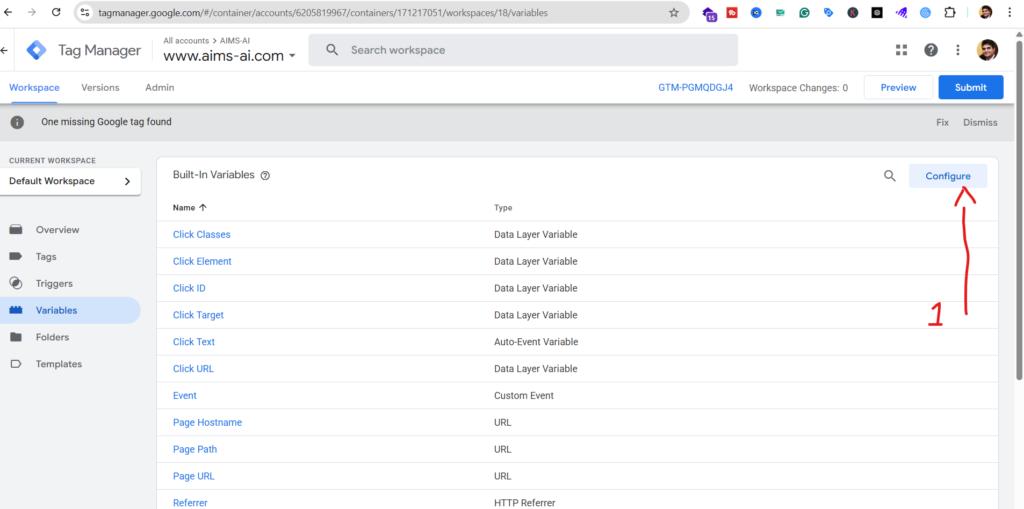
To start tracking clicks on your website with Google Tag Manager (GTM), you first need to enable its click-related variables. Go to the “Variables” section in your GTM workspace, find the “Built-In Variables” area, and click “Configure.” From there, simply check all the boxes under the “Clicks” category.
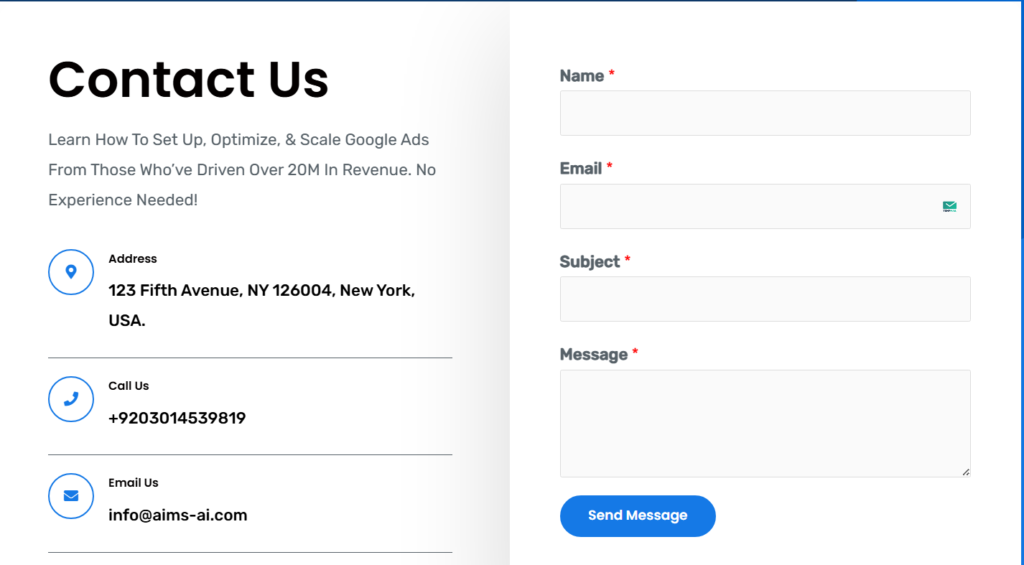
Step 3: Identify What You Want to Track:
What’s the most valuable click on your website? Is it when someone tries to contact you, subscribe to your newsletter, or visit your social profiles? Let’s walk through an example of tracking a “Subscribe” button. This will show you exactly how many visitors are interested in joining your email list, giving you powerful insights into your audience.
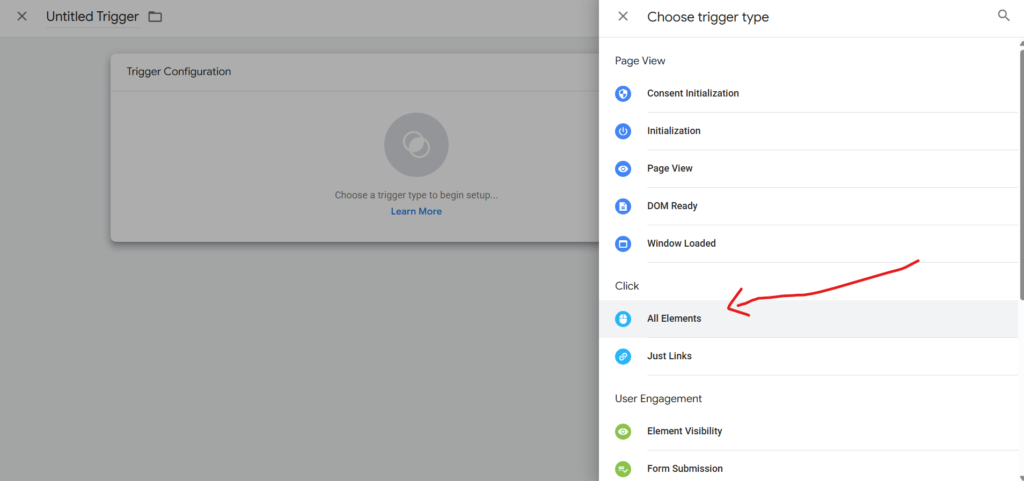
Step 4: Create a Click Trigger:
Now, let’s tell Google Tag Manager exactly which clicks to listen for. Here’s how:
-
Go to the Triggers section in GTM and click the New button.
-
Give your new trigger a clear name, like “Subscribe Button Click.”
-
In the setup area, choose Click – All Elements as the trigger type.
-
Next, tell it to only fire on your specific button. Select Some Clicks and set a rule to match your button’s unique Click ID or the exact Click Text (for example, “Subscribe”). This ensures you’re only tracking that one action.
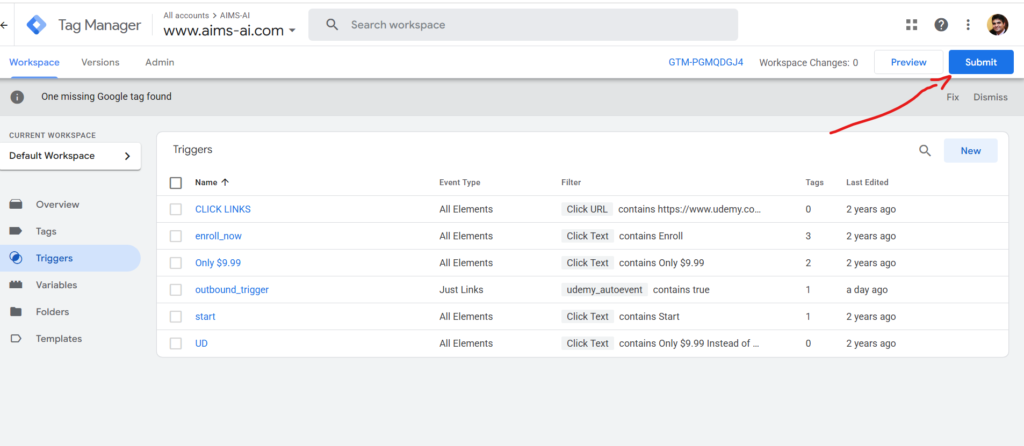
Step 5: Publish Your GTM Container:
Before you can test your new trigger, you need to save and publish your work. Here’s how:
-
Look for the Submit button in the top-right corner of your screen and click it.
-
Give this version a name and a brief description so you remember what you changed (e.g., “Added Subscribe Button Trigger”).
-
Click the Publish button to make your changes live.
Step 6: Enter Preview Mode:
To make sure everything on your website is working correctly with Google Tag Manager (GTM), you’ll want to use Preview Mode.
Here’s how:
First, enter Preview Mode in GTM. Then, open your website in the same web browser you’re using for GTM. Once your site loads, you should see the GTM Debug Panel appear at the bottom of the page. This panel lets you watch your triggers as they fire, helping you confirm they’re set up correctly.
Step 7: Test Your Click Trigger:
With the Debug Panel open, go ahead and click the button you’re tracking on your website.
When you do, the Debug Panel will immediately show you details about that click event. You’ll see information like the Click ID, Click Classes, and Click Text. This info is important because it confirms that your trigger is correctly recognizing when someone interacts with that specific button.
Step 8: Create a GA4 Event Tag:
Now, let’s link that trigger you just made to your Google Analytics 4 (GA4) account. Here’s how:
-
In Google Tag Manager (GTM), head over to Tags and click to create a New Tag.
-
For the Tag Type, choose Google Analytics: GA4 Event.
-
You’ll then connect this new tag to your existing GA4 Configuration Tag (this is usually set up when you first link GTM to GA4).
-
Give your event a clear and descriptive Event Name, like “subscribe_button_click.” This name will appear in your GA4 reports.
-
Finally, add any extra details (called parameters) that would be helpful. For instance, you might add parameters like “button_text” (what the button says) or “button_id” (a unique identifier for the button). These details will give you more context when you look at your reports in GA4.
Step 9: Link the Trigger to Your Tag:
Now, you’ll tell this new tag when to “fire” or activate.
-
In that same tag setup screen, scroll down until you find the Triggering section.
-
Click on it and select the click trigger you made just a little while ago. This tells the tag, “Hey, when that specific click happens, activate this event!”
-
Save your tag.
-
Finally, you’ll need to publish your GTM container again. Think of this as pressing the “go live” button for all the changes you’ve made. Once published, your new event tracking will start working on your website.

Step 10: Verify in GA4:
Now it’s time to check if everything’s working as it should.
-
Log in to your GA4 account.
-
Once you’re in, go to Reports and then click on Events.
-
Look for the event name you created (like “subscribe_button_click”).
If you see your event here, congratulations! You’ll now be able to see how many people are clicking your button. This data is super helpful for understanding what’s working on your site and planning your next moves.